How to: set up an on-feed campaign
Setting up a new ad media campaign in AdEngine is easy and intuitive. This article will go through the steps in setting up a simple banner ad that displays inside Sebenza's Content Platform's primary infinite-scroll feed interface.
Up-front requirements
Before beginning, make sure you have the following:
- Artwork and creatives in a non-vector format (PNG, GIF, JPEG for images, and for videos, AVI, M4V or MP4)
- Knowledge of the campaign parameters, such as campaign start and end dates
- Impression limits for the creatives
Step 1: Creating the campaign
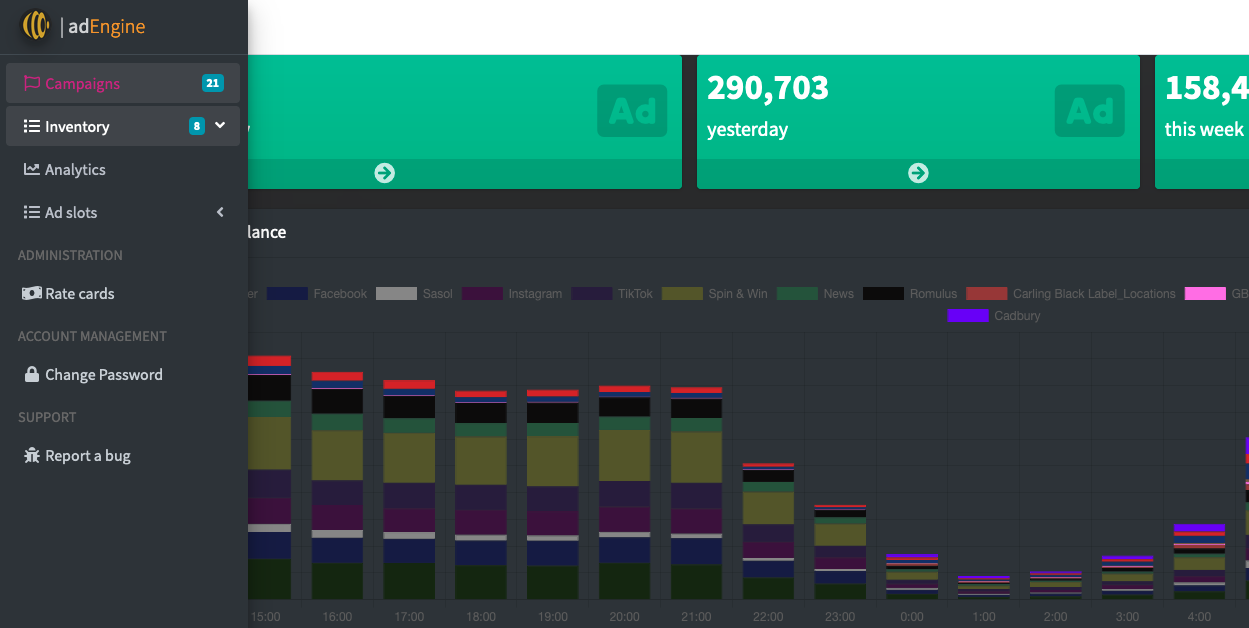
To begin, slide out the left-side menu, and select Campaigns.
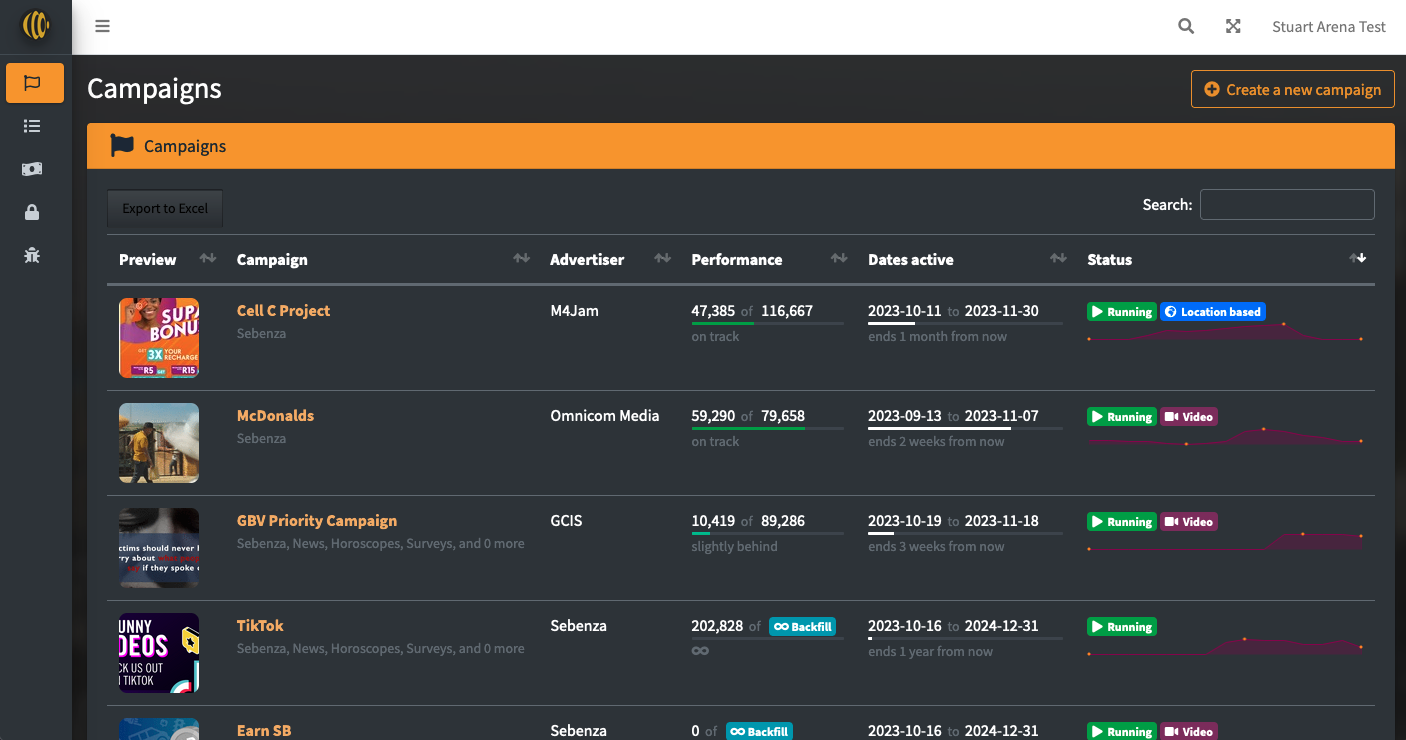
At the top right of the form, press Create a new campaign.
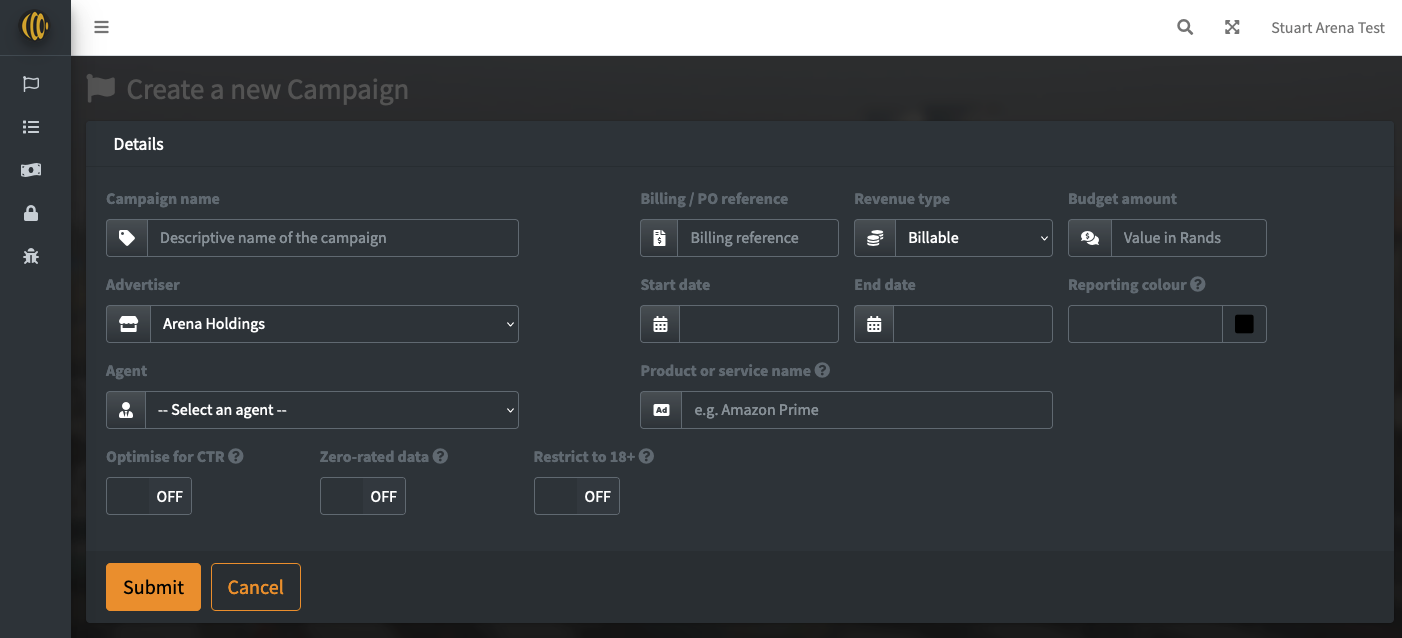
The Create a new campaign view is ready for you to start providing initial information about the campaign. Details of each form input are:
| Field |
Description |
| Campaign name (required) |
The name of the campaign. This should be descriptive enough that (a) it is easy to identify in the Campaign List View, and (b) should incorporate the campaign name as understood by you or your client. Simba Campaign |
| Advertiser |
The name of the advertiser (client). Setting this correctly allows for better reporting, and easier searching in the Campaign List View. If you are unsure of the Advertiser, select "Arena Holdings" ... you can always update the record later. |
| Agent |
If applicable, select the sales agent responsible for the campaign. Setting this correctly can improve reporting and searching, and if the agent has login details to AdEngine, they can view their campaign's progress. |
| Billing / PO Reference (required) |
Assuming each campaign has an internal unique identifier for the job (PO, Invoice Number, Job Number), this value must be placed here. |
| Revenue type |
Select what kind of revenue model this campaign operates under. For almost all cases, you'll select Billable, which is the default. |
| Budget amount |
Optionally provide a Rand value for the campaign. This can be used in budget reporting and analytics once the campaign launches. |
| Start date (required) |
Date when the campaign begins. |
| End date (required) |
When the campaign ends. Whatever day that might be, the campaign will end at the end of that day. i.e. if 1st August is selected, then the campaign will end at 23:59:59 of the 1st August. |
| Reporting colour |
In representation in reporting graphs - and to make campaigns visually distinctive of each other - you can define the campaign's colour. If left blank, AdEngine will choose one for you, based on the creatives that you upload. |
| Product or service name |
A very short descriptor of the product or service being advertised. Typically, this is either the name of the brand, or the name of the product. This shows up in-feed under the ad creative when displayed. |
| Optimise for CTR |
If enabled, AdEngine will pay attention to your creatives to see how they are performing by using clickthrough rate as a measure of success. If you have underperforming creatives, AdEngine will - over time - start deprioritising them |
| Zero-rated data |
If enabled, this notifies Sebenza technical administrators that the clickthrough URLs for the campaign must be zero-rated within the Sebenza ecosystem. Note that it can take up to a working week to zero-rate a full site, so please plan accordingly in your campaign setup and go-live. |
| Restrict to 18+ |
If checked, this campaign will not be visible to minors and children. |


