| **Field** | **Description** |
| Campaign name *(required)* | The name of the campaign. This should be descriptive enough that (a) it is easy to identify in the Campaign List View, and (b) should incorporate the campaign name as understood by you or your client. **Good examples:** Shoprite 2023 Xmas Celebration Vodacom Light Up the Summer Activation **Bad examples:** Simba Campaign CELLC\_INT\_BL02384 |
| Advertiser | The name of the advertiser (client). Setting this correctly allows for better reporting, and easier searching in the Campaign List View. If the advertiser is not in the dropdown, a user with sufficient privileges can create the record. If you are unsure of the Advertiser, select "Arena Holdings" ... you can always update the record later. |
| Agent | If applicable, select the sales agent responsible for the campaign. Setting this correctly can improve reporting and searching, and if the agent has login details to AdEngine, they can view their campaign's progress. |
| Billing / PO Reference *(required)* | Assuming each campaign has an internal unique identifier for the job (PO, Invoice Number, Job Number), this value must be placed here. |
| Revenue type | Select what kind of revenue model this campaign operates under. For almost all cases, you'll select **Billable**, which is the default. |
| Budget amount | Optionally provide a Rand value for the campaign. This can be used in budget reporting and analytics once the campaign launches. |
| Start date *(required)* | Date when the campaign begins. |
| End date *(required)* | When the campaign ends. Whatever day that might be, the campaign will end at the *end* of that day. i.e. if 1st August is selected, then the campaign will end at 23:59:59 of the 1st August. |
| Reporting colour | In representation in reporting graphs - and to make campaigns visually distinctive of each other - you can define the campaign's colour. If left blank, AdEngine will choose one for you, based on the creatives that you upload. |
| Product or service name | A very short descriptor of the product or service being advertised. Typically, this is either the name of the brand, or the name of the product. This shows up in-feed under the ad creative when displayed. |
| Optimise for CTR | If enabled, AdEngine will pay attention to your creatives to see how they are performing by using clickthrough rate as a measure of success. If you have underperforming creatives, AdEngine will - over time - start deprioritising them |
| Zero-rated data | If enabled, this notifies Sebenza technical administrators that the clickthrough URLs for the campaign must be zero-rated within the Sebenza ecosystem. Note that it can take up to a working week to zero-rate a full site, so please plan accordingly in your campaign setup and go-live. |
| Restrict to 18+ | If checked, this campaign will not be visible to minors and children. |
When you save your campaign, it will be in **Draft** mode, and will not be published to Sebenza's Content Portal until it is set to "**Approved**". Details on how the campaign moves from one state to the other is covered later on in this document.
## Step 2: Adding creatives Once your campaign has been saved, it's time to add creatives. For this, you can head over to the **Creatives** tab: [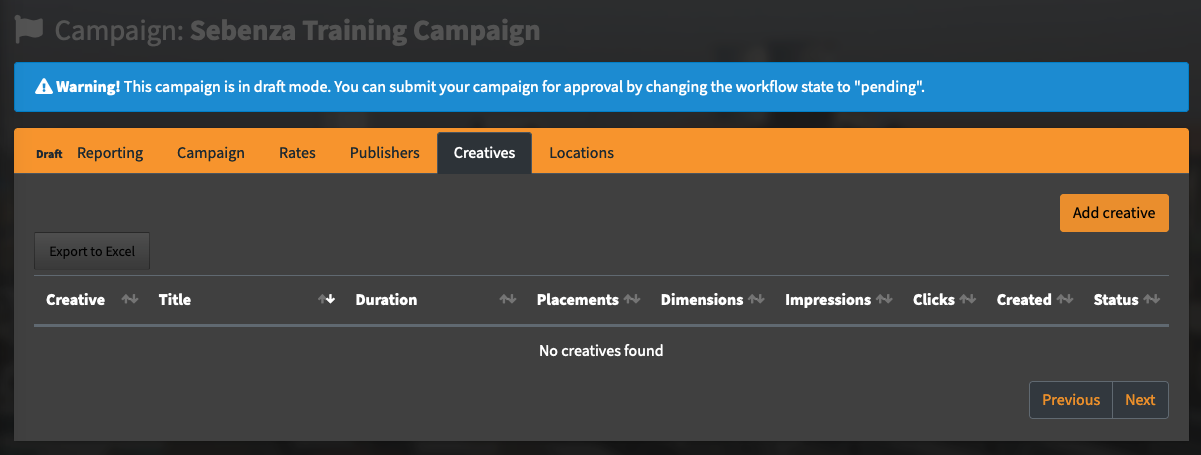](https://arenawiki.sebenza.taxi/uploads/images/gallery/2023-10/1zQimage.png) From here, you can start uploading your creatives. **Things to note:** 1. The creatives must be present on a local drive, and not on a shared remote folder like Google Drive or OneDrop. 2. There is a 100MB limit to any single file upload To add your first creative, click **Add Creative** on the top right of the screen. You'll see this popup: [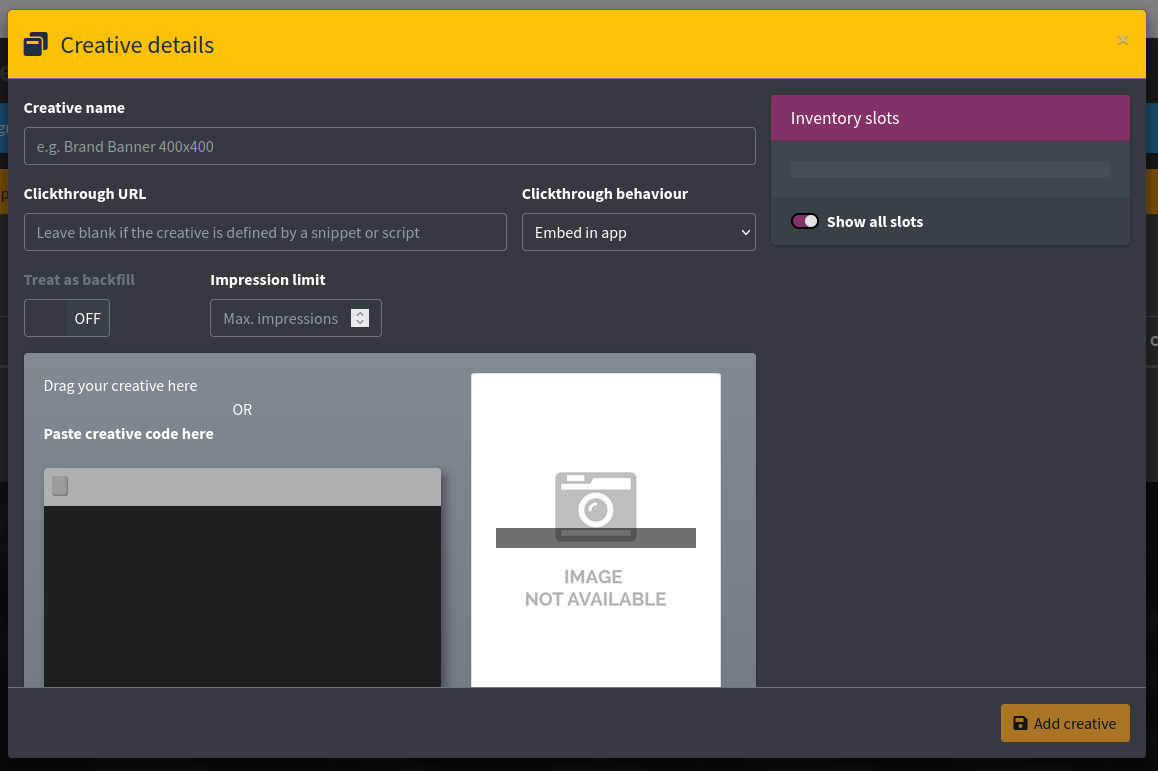](https://arenawiki.sebenza.taxi/uploads/images/gallery/2023-10/kopimage.png)| **Field** | **Description** |
| Creative name *(required)* | A name to distinctly identify the creative itself. You may elect this to be the filename, or some kind of internal designator. |
| Clickthrough URL | Where the user will clickthrough to if the ad is clicked. If a value is specified, the form will check to see if the URL is indeed valid. |
| Clickthrough behaviour | Leave as "Embed in App" |
| Treat as backfill | Unlikely to be used for paid campaigns, which generally work on impression limits. |
| Impression limit | Define the impression target for this creative. |
AdEngine automatically resizes and compresses images and videos into the best possible file configuration that suits Sebenza's Content Platform, and in consideration to the type of mobile devices our commuters use.
- The media will show in the preview pane - AdEngine will have determined what creative type it is in the dropdown below the preview. This can be overridden if necessary. - An HTML code block is shown, which represents the HTML markup used in the serving of the ad. -The HTML code block can be overridden, but generally should only be attempted by a capable developer resource, and only if such changes are necessary
- Specifications of the media's proportions are shown toward the bottom. On the right of the popup, a list of all inventory ad slots that support the uploaded media type. From here you can decide *where* the creative should flight. You can read more about [Sebenza's ad slots here](https://arenawiki.sebenza.taxi/books/sebenzas-inventory-ad-slots "Sebenza's Inventory Ad slots"). For the most part, your ads will flight in **Main feed**, which is the first-most slot option in the checklist provided. Once done, click the **Add Creative** button, and it will show in the table: [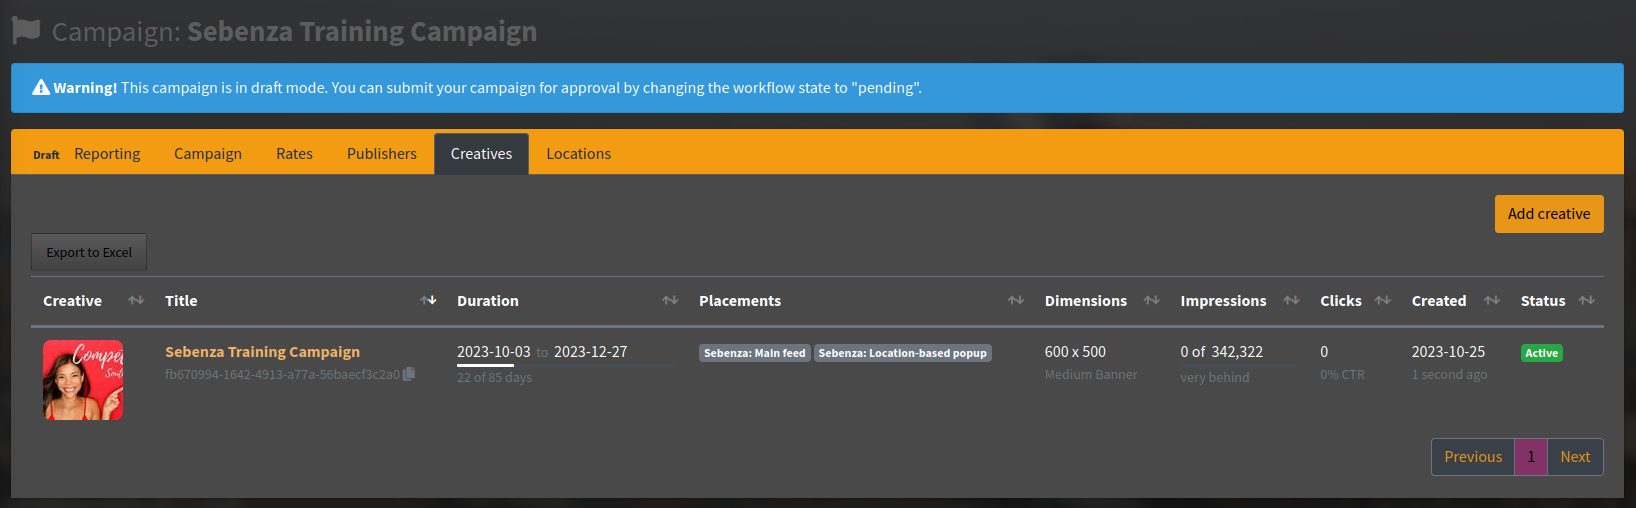](https://arenawiki.sebenza.taxi/uploads/images/gallery/2023-10/vjnimage.png) # How to: set up a pixel / tag campaign **Pixel or tag campaigns** are defined as campaigns where the client has provided you with a snippet of Javascript code, or a tracking pixel, to include in your campaign. This article assumes you already know how to set up a basic campaign, and therefore only focuses on the details of tag or snippet insertion.Some pixels or tags may prevent AdEngine from tracking impressions and clicks. As part of the moderation process, Sebenza developers will attempt to adjust these kind of campaigns to still facilitate local analytics